Board End Labels – Automating with Excel and Illustrator
Prepare the UPC
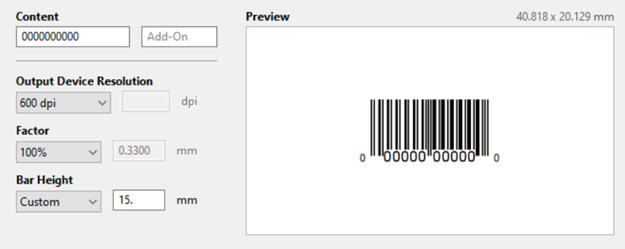
Prepare all the UPC files with Bar Height set to 15mm
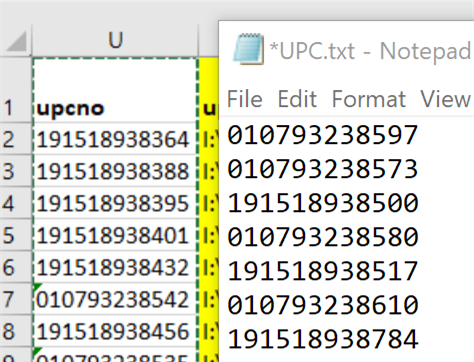
Copy the UPC column from the spreadsheet and paste into a text document
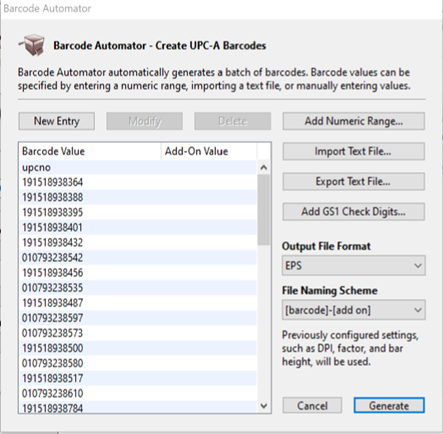
Import the text file in the Automator inside Barcode Producer to generate all UPC files.
Save all UPC.eps files inI:\PACKAGING\Wyla\_BOARD END LABELS\_IN PROGRESS\_UPC
Prepare the Excel file
Setup the excel file so everything you want populated in illustrator is in its own column with a header row. It is very important to take your time with this part since one extra space could ruin the whole project.
Top Row
The top row values will be what you see in illustrator when you import the spreadsheet. Name each column something that will make sense when you are linking to a text box or image in illustrator. The First Row at the top should not contain any spaces (double check before and after each entry if you get errors). Underscores and dashes are OK. No special characters unless it is pointing to the exact location of an image.
For columns that will contain an image, start the name with ‘@
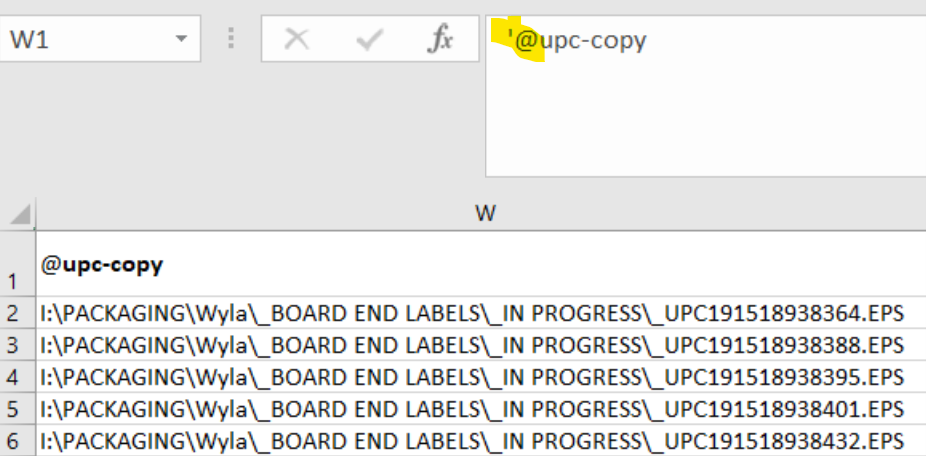
Content to populate
You may need to write a few formulas using CONCATENATE to get everything exactly how you want it to appear on the packaging. Concatenate will combine other cells and text and display how you want it to appear in illustrator. For example, if I only have the UPC column and want to show the exact location of the file, I would use this:
=CONCATENATE(“I:\PACKAGING\Wyla\_BOARD END LABELS\_IN PROGRESS\_UPC”,U3,”.EPS”)
Which will display as I:\PACKAGING\Wyla\_BOARD END LABELS\_IN PROGRESS\_UPC191518938388.EPS

YELLOW is needed to start and end the formula
GREEN is text that will display exactly what is in between the quotation marks. Use a comma after to add the next value.
Blue is the location of cell info
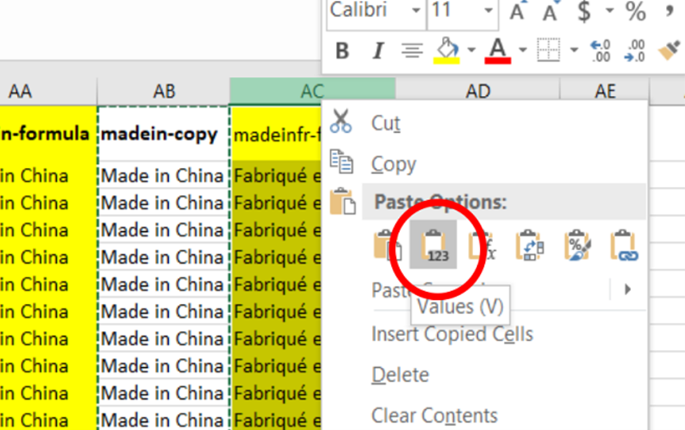
When the file is saved as a CSV, it stores the formula as-is and illustrator will read as-is. To avoid formulas imported to illustrator as code, you must copy the formula column to a new column and (right click) paste by values. Make sure the new column gets a new name.
Save as an excel file if you will need to adjust formulas or modify again. Save as a CSV when you are ready to import to illustrator (you will lose all formatting in this file). Its best to work from the XLS and eport as the CSV only on the final.
Prepare the Illustrator file
Setup the master illustrator file so each item to populate from the spreadsheet is in its own text box and ungrouped. Open the variables window and ensure nothing has been imported or set up yet.
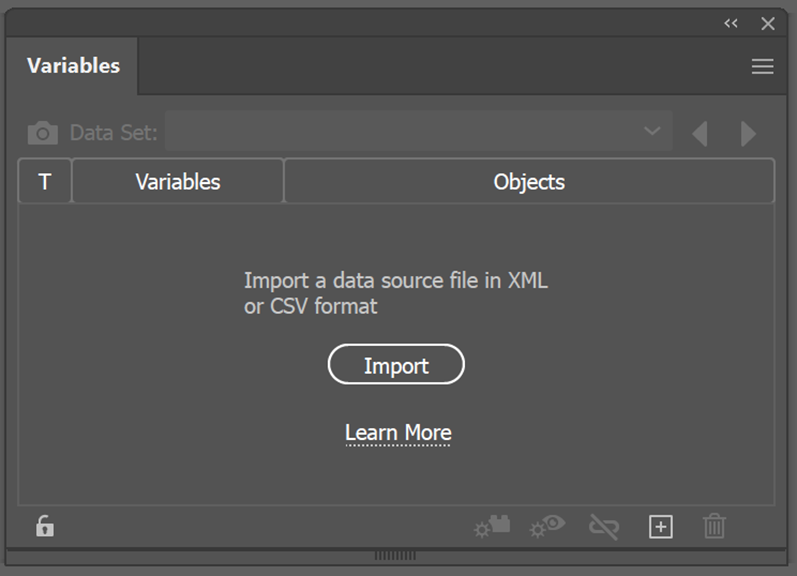
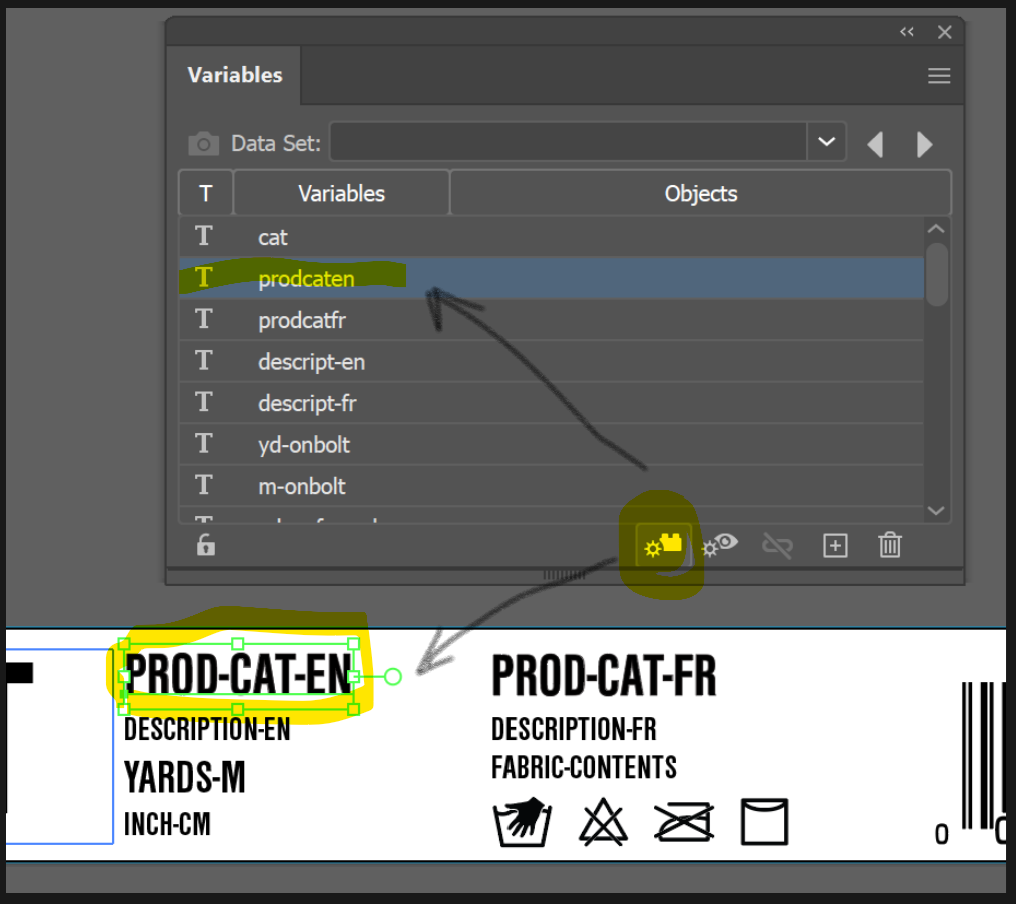
Import the saved CSV file and link the text box with the imported column names by clicking the icon on the bottom of the panel.
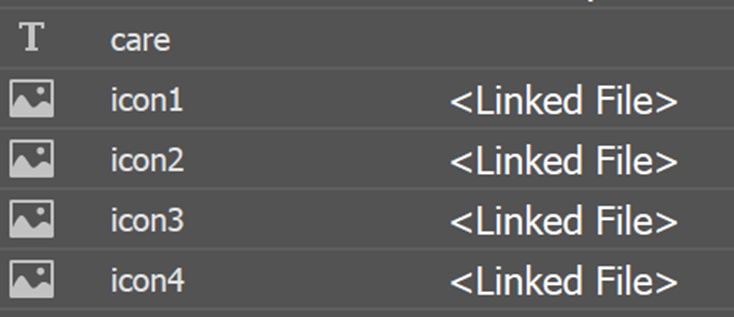
If the column header was set up correctly for images in the CSV, then there should be a Picture icon for images to link. Not every variable will need to be linked to elements since there may be extra columns in the spreadsheet. Text should always show a “T” icon, images should show the Picture icon to the left.
Once everything is linked, you can check a few to make sure the information populates the right way. Click the drop down arrow at the top under data set to select a row from the spreadsheet, or click the left and right arrows to cycle through each instance.

The data should change on all fields that are set up correctly. If something doesn’t change, confirm it’s assigned to the right variable and confirm the data is correct in excel. Save your work!
Once you are confident the excel and illustrator files are working as intended, it’s time to make and run the script to save all files. Open the actions window and create an action that only saves the file in your desired output folder.
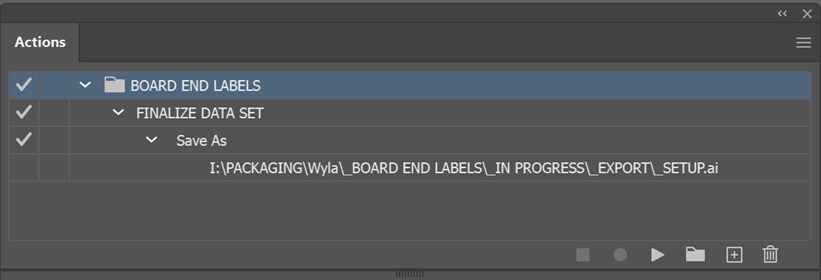
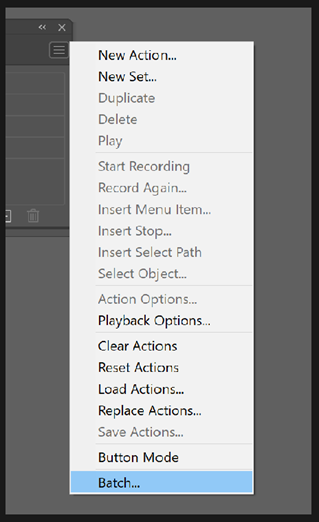
Click the overflow menu on the side of the actions window, and select Batch from the dropdown menu.
Make sure the batch is set to run the Save action with the source pulling from the data sets.
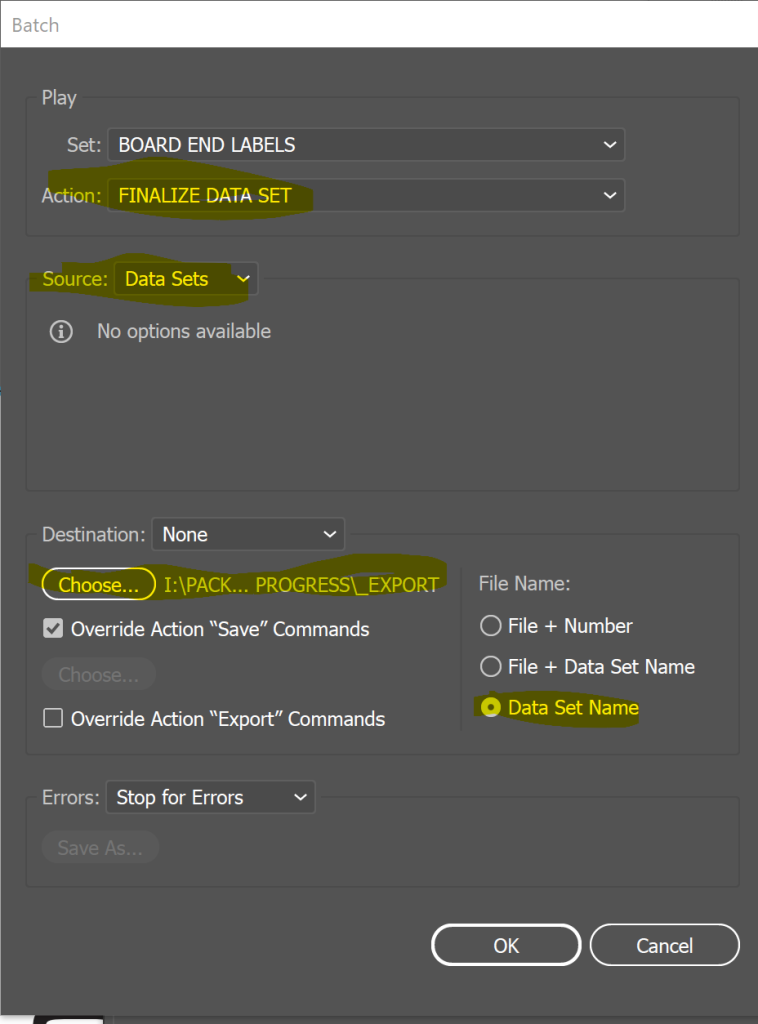
Choose the folder and click OK. This will export all files to the set location. Once complete, you may need to use Batch Renaming to fix the file names.
